Deploy Agent on Agentverse via Render
Render is a cloud platform for deploying Python-based services and agents. This guide walks you through creating, testing, and deploying an ASI-LLM-AGENT on Render and integrating it with Agentverse.
Project Structure
Ensure your project directory is structured as follows:
asi-agent/
├── app.py
├── requirements.txt
├── .env               # not committed to source control
└── README.md          # optional
File Descriptions
- app.py: Contains the uAgents chat agent code (mailbox-enabled, no HTTP server required).
- requirements.txt: Python dependencies.
- .env: Environment variables (e.g.,
ASI_API_KEY). - README.md: Optional docs for your repo.
requirements.txt
Minimal dependencies to run the agent and ASI client.
uagents==0.23.6
uagents-core==0.4.0
openai
python-dotenv
.env
Create a .env file with your ASI API key, agent seed phrase, and Agentverse API key.
ASI_API_KEY=sk-...
AGENT_SEED_PHRASE=av-deploy-example
ILABS_AGENTVERSE_API_KEY=your-agentverse-api-key
💡 Need help getting your API keys?
- Get your ASI API key: ASI:One Quickstart
- Get your Agentverse API key: Agentverse API Key
Do not commit .env to version control.
app.py (Agent Example)
Use the following example that integrates uAgents chat protocol with ASI's OpenAI-compatible API and Agentverse mailbox.
from datetime import datetime
from uuid import uuid4
import os
from dotenv import load_dotenv
from openai import OpenAI
from uagents import Context, Protocol, Agent
from uagents_core.contrib.protocols.chat import (
ChatAcknowledgement,
ChatMessage,
EndSessionContent,
TextContent,
chat_protocol_spec,
)
from uagents_core.utils.registration import (
register_chat_agent,
RegistrationRequestCredentials,
)
load_dotenv()
# Constants
AGENT_NAME = "asi1-agent"
SEED_PHRASE = os.getenv("AGENT_SEED_PHRASE", "av-deploy-example")
AGENTVERSE_KEY = os.getenv("ILABS_AGENTVERSE_API_KEY")
client = OpenAI(
base_url='https://api.asi1.ai/v1',
api_key=os.getenv("ASI_API_KEY"),
)
agent = Agent(
name=AGENT_NAME,
seed=SEED_PHRASE,
port=8001,
mailbox=True,
)
protocol = Protocol(spec=chat_protocol_spec)
@protocol.on_message(ChatMessage)
async def handle_message(ctx: Context, sender: str, msg: ChatMessage):
await ctx.send(
sender,
ChatAcknowledgement(timestamp=datetime.now(), acknowledged_msg_id=msg.msg_id),
)
text = ""
for item in msg.content:
if isinstance(item, TextContent):
text += item.text
response = "Sorry, I wasn’t able to process that."
try:
r = client.chat.completions.create(
model="asi1",
messages=[
{"role": "system", "content": "You are a helpful AI assistant. Answer user queries clearly and politely."},
{"role": "user", "content": text},
],
max_tokens=2048,
)
response = str(r.choices[0].message.content)
except:
ctx.logger.exception("Error querying model")
await ctx.send(sender, ChatMessage(
timestamp=datetime.utcnow(),
msg_id=uuid4(),
content=[
TextContent(type="text", text=response),
EndSessionContent(type="end-session"),
]
))
@protocol.on_message(ChatAcknowledgement)
async def handle_ack(ctx: Context, sender: str, msg: ChatAcknowledgement):
pass
agent.include(protocol, publish_manifest=True)
README = """# ASI1 Agent


An AI assistant powered by ASI1 that can help answer questions and process queries using advanced AI capabilities.
## Features
- **AI-powered responses**: Uses ASI API for intelligent conversation
- **Chat protocol support**: Compatible with uAgents chat protocol
- **Session management**: Handles multi-turn conversations
## Usage
Send messages to the agent via ASI1 or direct chat protocol to interact with the AI assistant.
"""
@agent.on_event("startup")
async def startup_handler(ctx: Context):
"""Initialize agent and register with Agentverse on startup."""
ctx.logger.info(f"🚀 Agent starting: {ctx.agent.name} at {ctx.agent.address}")
# Register with Agentverse
if AGENTVERSE_KEY and SEED_PHRASE:
try:
register_chat_agent(
AGENT_NAME,
agent._endpoints[0].url,
active=True,
credentials=RegistrationRequestCredentials(
agentverse_api_key=AGENTVERSE_KEY,
agent_seed_phrase=SEED_PHRASE,
),
readme=README,
description="An AI assistant powered by ASI1 that can help answer questions and process queries using advanced AI capabilities."
)
ctx.logger.info("✅ Registered with Agentverse")
except Exception as e:
ctx.logger.error(f"Failed to register with Agentverse: {e}")
else:
ctx.logger.warning("⚠️ AGENTVERSE_KEY or SEED_PHRASE not set, skipping Agentverse registration")
if __name__ == "__main__":
agent.run()
Local Development & Testing
- Create and activate a virtual environment.
- Install dependencies:
pip install -r requirements.txt. - Create a
.envwithASI_API_KEY,AGENT_SEED_PHRASE, andILABS_AGENTVERSE_API_KEY. - Run the agent:
python app.py. - In the logs, open the Agent Inspector link to connect your agent to Agentverse via mailbox.
- From Agentverse, find the agent under Local Agents and chat using the chat interface.
Deploying on Render
1. Sign Up for Render
Create a free account at render.com.
2. Prepare Your Repository
Ensure your repository contains:
app.pyrequirements.txt.env.example(optional; do not commit actual secrets)README.md(optional)
Push your project to a GitHub, GitLab, or Bitbucket repository.
3. Create a Background Worker Service
-
Log in to the Render Dashboard.
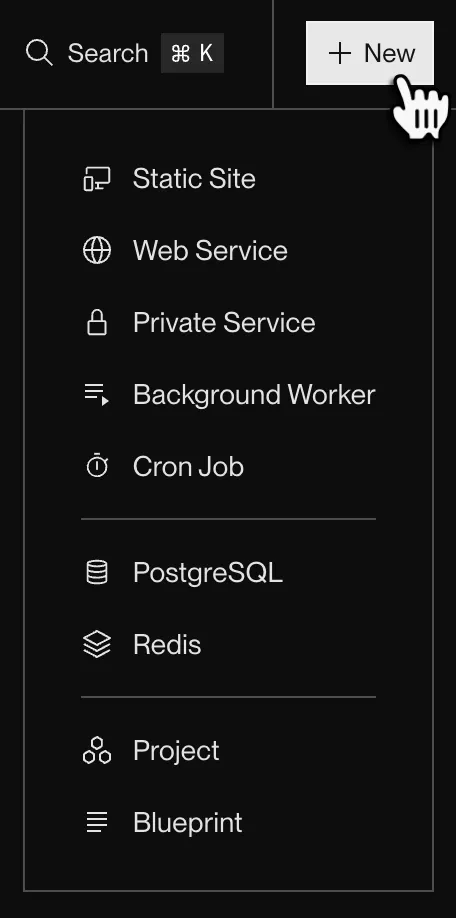
-
Click + New and select Background Worker (no HTTP server required for this agent).
4. Link Your Repository
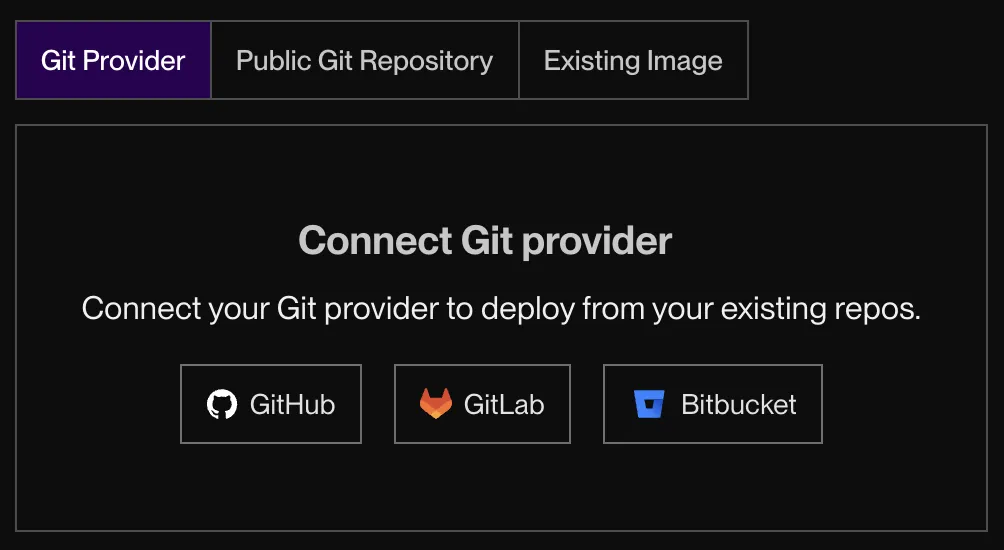
-
Connect your GitHub/GitLab/Bitbucket account.
-
After you connect, the form shows a list of all the repos you have access to:
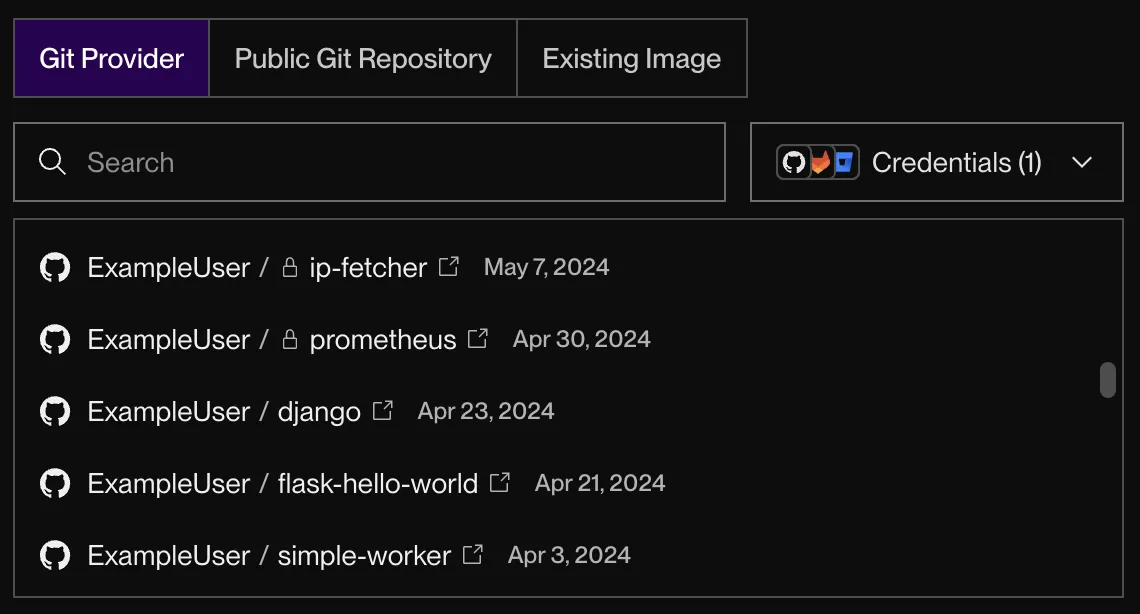
-
Select the `` repository and click Connect.
5. Configure and Deploy
-
Environment: Python
-
Build Command:
pip install -r requirements.txt -
Start Command:
python app.py -
Environment Variables: Add the following environment variables:
ASI_API_KEY: Your ASI API keyAGENT_SEED_PHRASE: Your agent seed phrase (defaults to "av-deploy-example" if not set)ILABS_AGENTVERSE_API_KEY: Your Agentverse API key
-
Click Create Background Worker
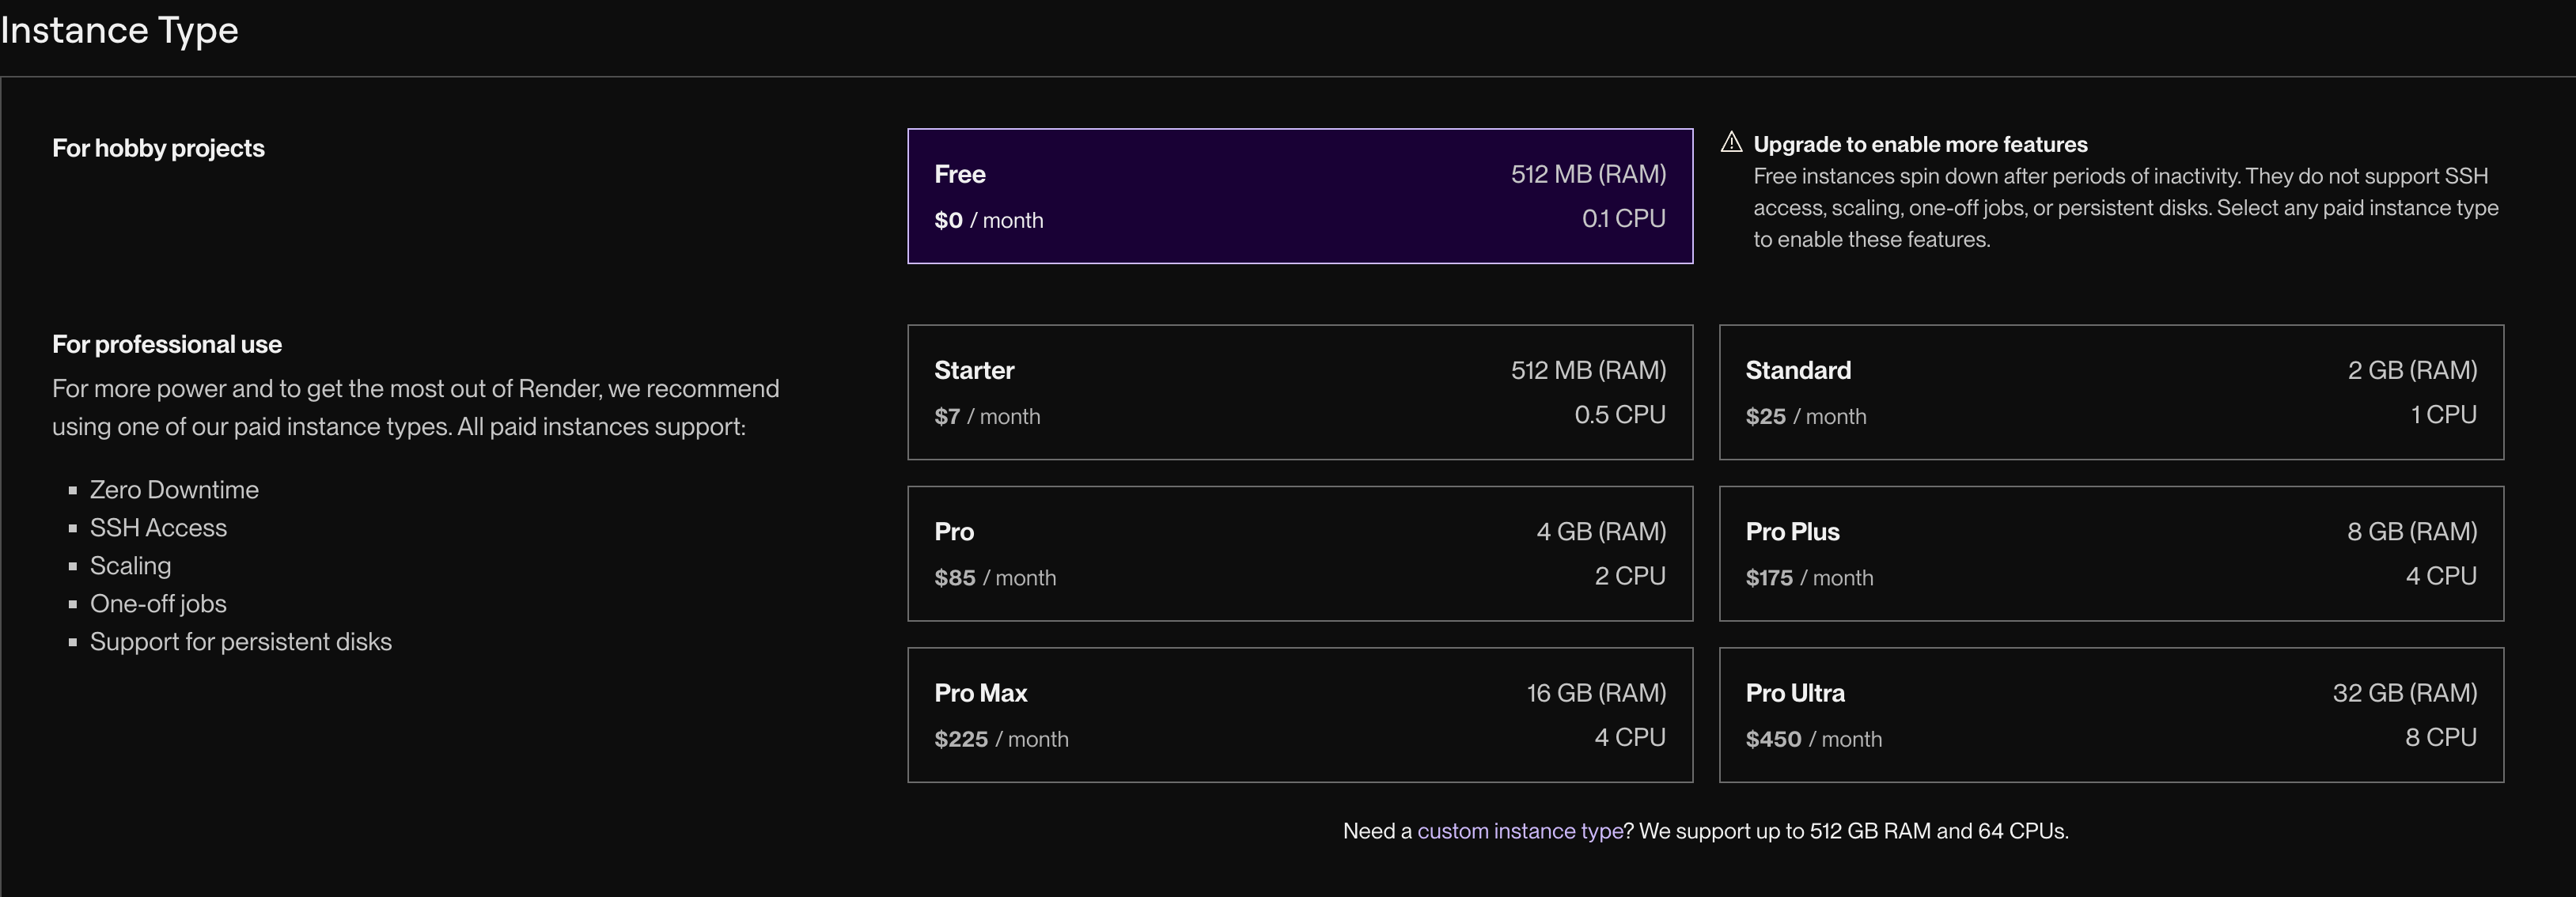
-
Choose the free plan
6. Monitor the Deployment
-
Render displays a log explorer to track the build and deployment process.
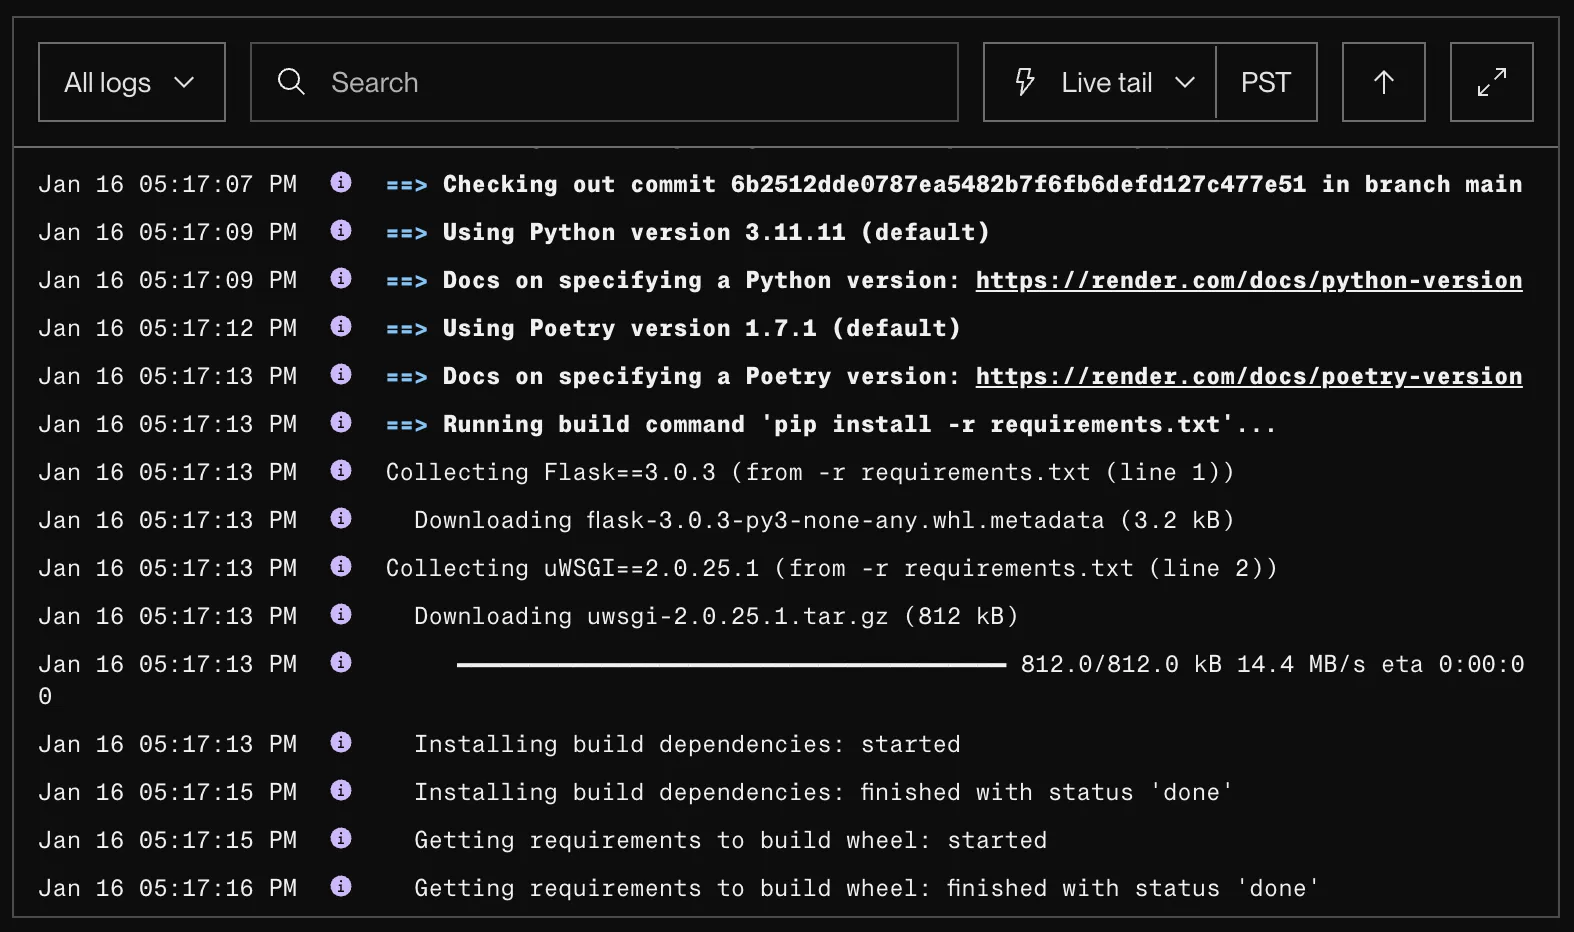
Render will install dependencies and start the agent. The logs will show the Agent Inspector link for mailbox connection.
README.md Tag Example for Agentverse
# ASI1 Agent


An AI assistant powered by ASI1 that can help answer questions and process queries using advanced AI capabilities.
## Features
- **AI-powered responses**: Uses ASI API for intelligent conversation
- **Chat protocol support**: Compatible with uAgents chat protocol
- **Session management**: Handles multi-turn conversations
## Usage
Send messages to the agent via ASI1 or direct chat protocol to interact with the AI assistant.
Troubleshooting
- Dependency Errors: Ensure
requirements.txtincludesuagents==0.23.6,uagents-core==0.4.0,openai, andpython-dotenv. - Missing API Key: Verify
ASI_API_KEYis set in Render environment variables or.envlocally. - Mailbox Not Connecting: Use the Agent Inspector link from logs and ensure your network/firewall allows outbound traffic.
- No Responses: Check Render logs for exceptions from the ASI API call and confirm the
asi1model is accessible with your key.
Next Steps
- Add guardrails, memory, and richer tool-use to your agent.
- Instrument logging/metrics for observability.
- Use
publish_manifest=Trueto make your agent discoverable and update its profile on Agentverse accordingly.
💡 Full Example Repository: Check out this complete deployment example on GitHub for a ready-to-use setup including Render + Agentverse integration.
💡 Alternative Platforms: You can also deploy your agent on other platforms like Railway, Google Cloud Platform (GCP), or Amazon Web Services (AWS). The deployment process is similar - just ensure your agent runs as a background worker/service with the required environment variables configured.
📚 Useful Docs: