Getting Started with ASI-1 Mini
This guide will walk you through the process of setting up and making your first API call to ASI-1 Mini, the Web3-native Large Language Model designed for agentic AI.
How to Get an API Key
Before you can start using ASI-1 Mini, you'll need to obtain an API key. Follow these steps:
- Visit https://asi1.ai/chat and log in to your account.
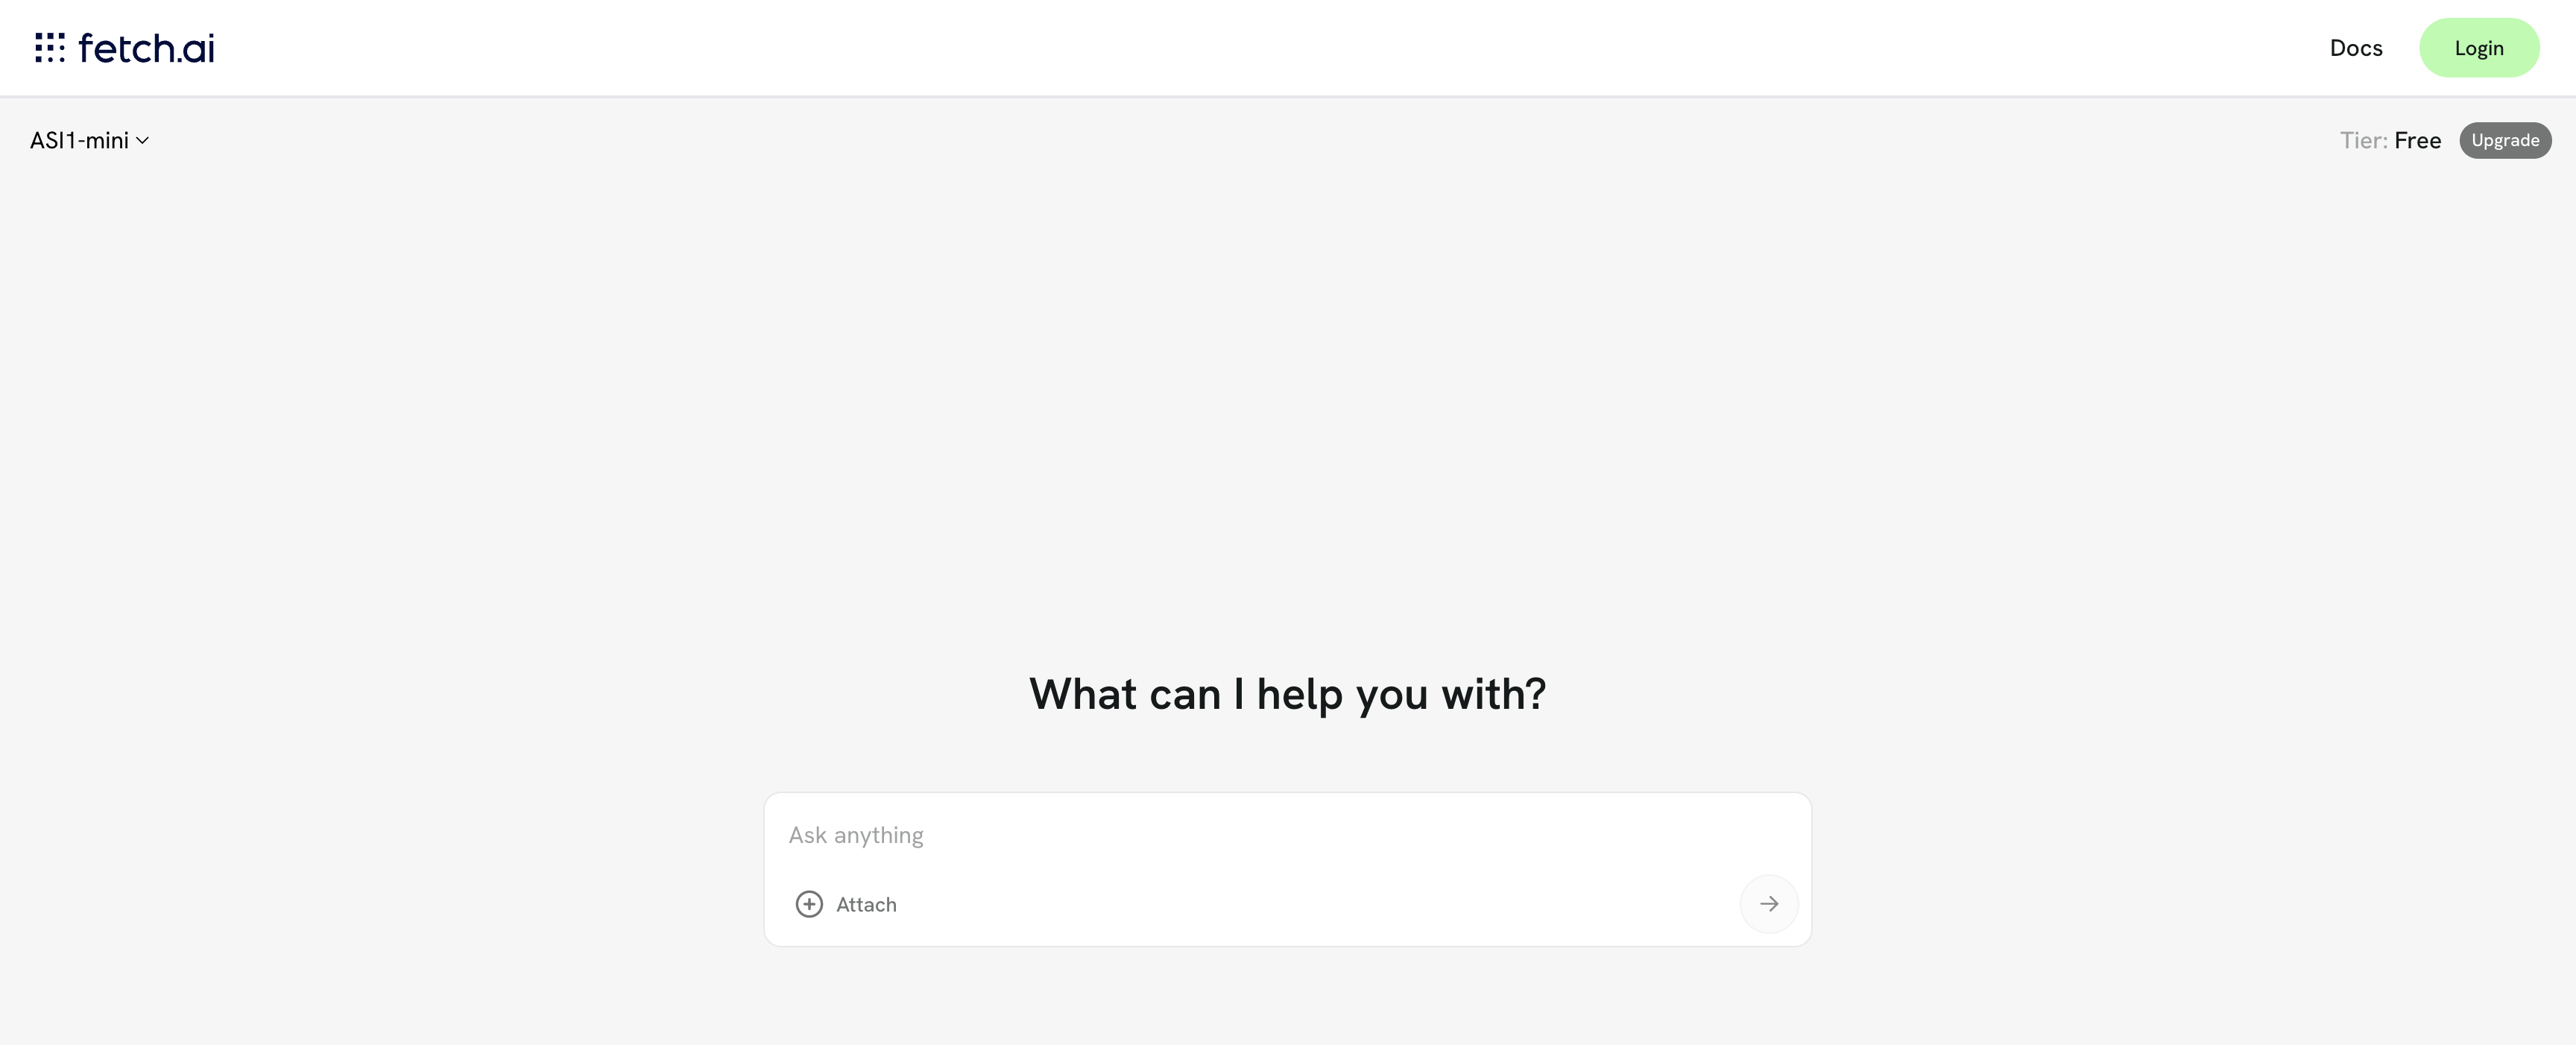
- Once logged in, look for the link in the top right corner to create an API Key.

- Click on "Create new" or "Create API Key" to generate a new key.

- Give your API key a descriptive name that helps you identify its purpose or the project it's associated with.

-
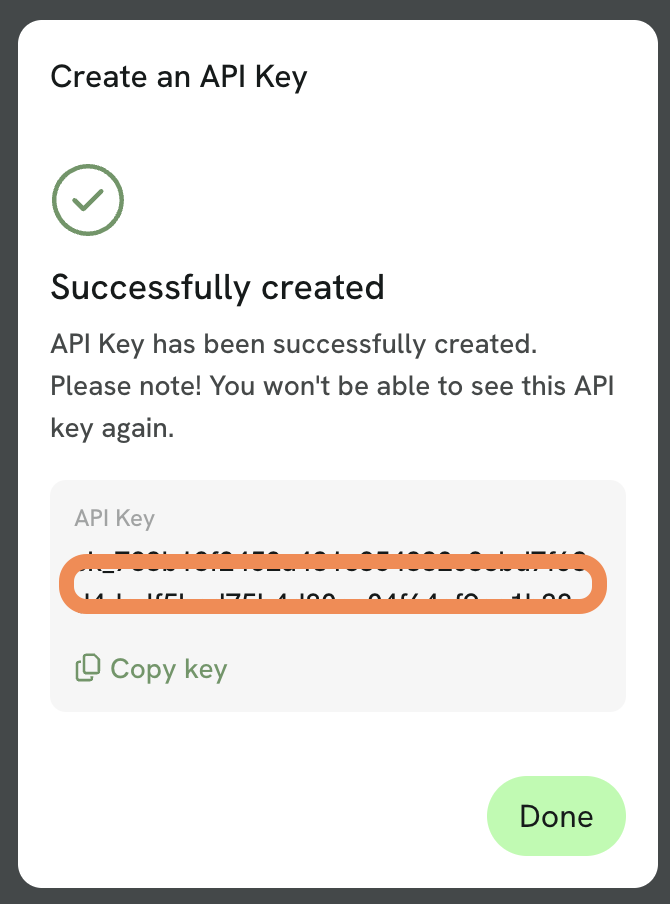
Click "Create" to generate the key.
-
Your API key will be displayed. Make sure to copy this key and store it securely, as you won't be able to view it again.
- You can manage your API keys at any time by visiting https://asi1.ai/dashboard/api-keys.
Making Your First API Call
Once you have your API key, you can start making requests to the ASI-1 Mini API. Here's a simple example using Python:
import requests
import json

url = "https://api.asi1.ai/v1/chat/completions"

payload = json.dumps({
  "model": "asi1-mini",
  "messages": [
    {
      "role": "user",
      "content": "Hello, tell me about agentic AI"
    }
  ],
  "temperature": 0.7,
  "stream": False,
  "max_tokens": 500
})

headers = {
  'Content-Type': 'application/json',
  'Accept': 'application/json',
  'Authorization': 'Bearer YOUR_API_KEY'  # Replace with your actual API key
}

response = requests.request("POST", url, headers=headers, data=payload)

print(response.text)
Replace YOUR_API_KEY with the API key you obtained in the previous steps.
Understanding the Response
The API will return a JSON response containing the model's reply. If you set stream to True, the response will be streamed as it's generated, which is useful for creating more responsive applications.
A typical response will include:
- The completion ID
- The model name
- The generated text
- Usage information (token counts)
Streaming Responses
For a more interactive experience, you can set the stream parameter to True to receive the response as it's being generated:
import requests
import json

url = "https://api.asi1.ai/v1/chat/completions"

payload = json.dumps({
  "model": "asi1-mini",
  "messages": [
    {
      "role": "user",
      "content": "Explain the concept of decentralized AI"
    }
  ],
  "temperature": 0.7,
  "stream": True,
  "max_tokens": 500
})

headers = {
  'Content-Type': 'application/json',
  'Accept': 'application/json',
  'Authorization': 'Bearer YOUR_API_KEY'  # Replace with your actual API key
}

response = requests.request("POST", url, headers=headers, data=payload, stream=True)

for line in response.iter_lines():
    if line:
        line_text = line.decode('utf-8')
        if line_text.startswith('data: '):
            data_str = line_text[6:]  # Remove 'data: ' prefix
            if data_str == '[DONE]':
                break
            try:
                data = json.loads(data_str)
                if 'choices' in data and len(data['choices']) > 0:
                    delta = data['choices'][0].get('delta', {})
                    if 'content' in delta:
                        print(delta['content'], end='', flush=True)
            except json.JSONDecodeError:
                pass
Next Steps
Now that you've made your first API call to ASI-1 Mini, you can explore more advanced features:
- Check out the API Reference for detailed information on all available endpoints and parameters
- Learn about Chat Completion for more details on generating conversational responses
- Explore example applications and use cases.
By leveraging ASI-1 Mini's agentic capabilities, you can build sophisticated AI applications that can reason, plan, and execute complex tasks autonomously within the Web3 ecosystem.